Equipment Inventory
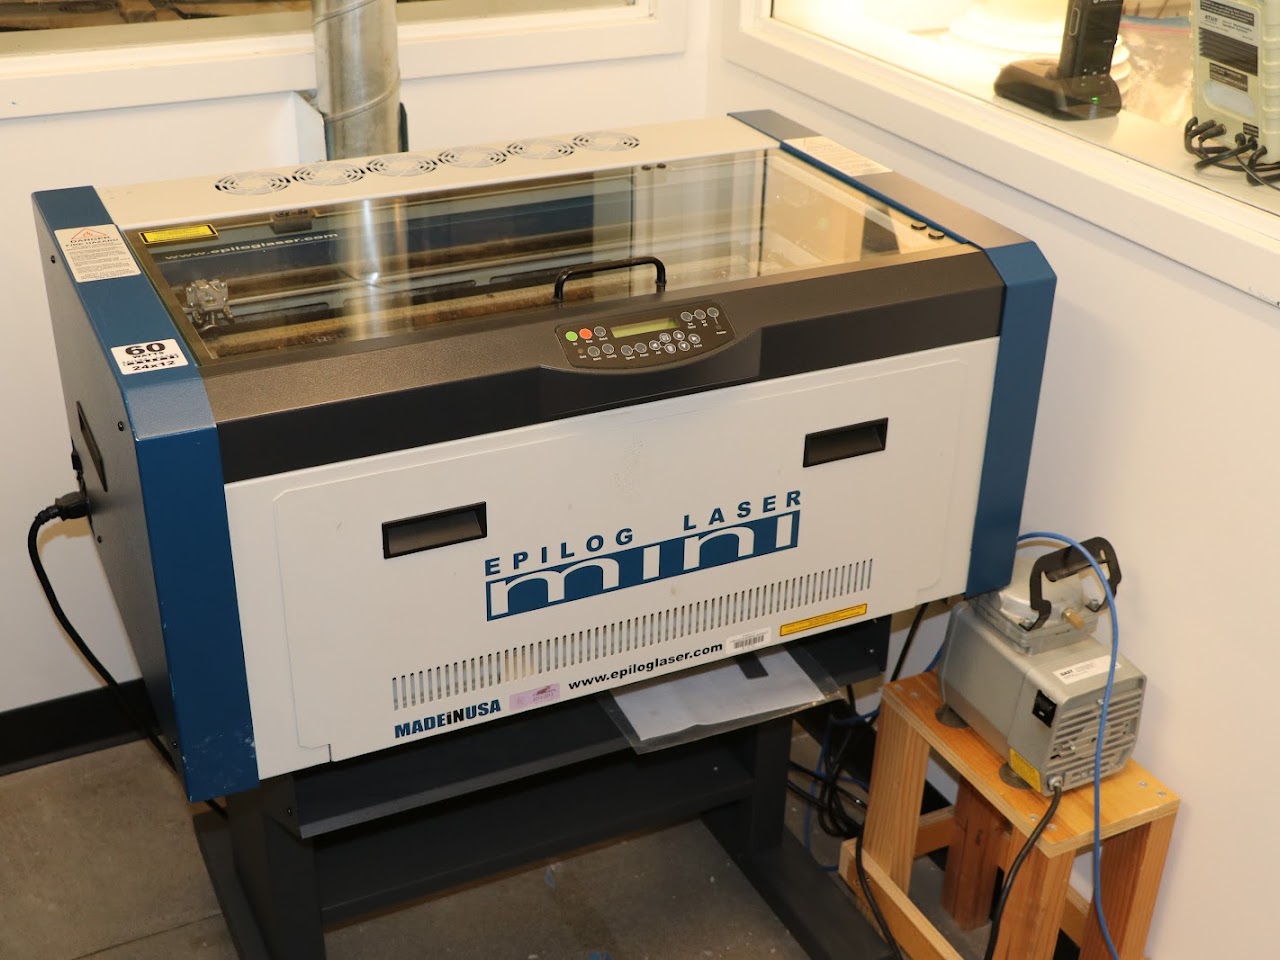
Manufacturer: Epilog Laser
Model#: 8000 (Epilog Mini 24)
Stock#: n/a
Serial#: 8060-14150682412R
Acquired: Manufactured in November 2014, installed in December 2014 (New)
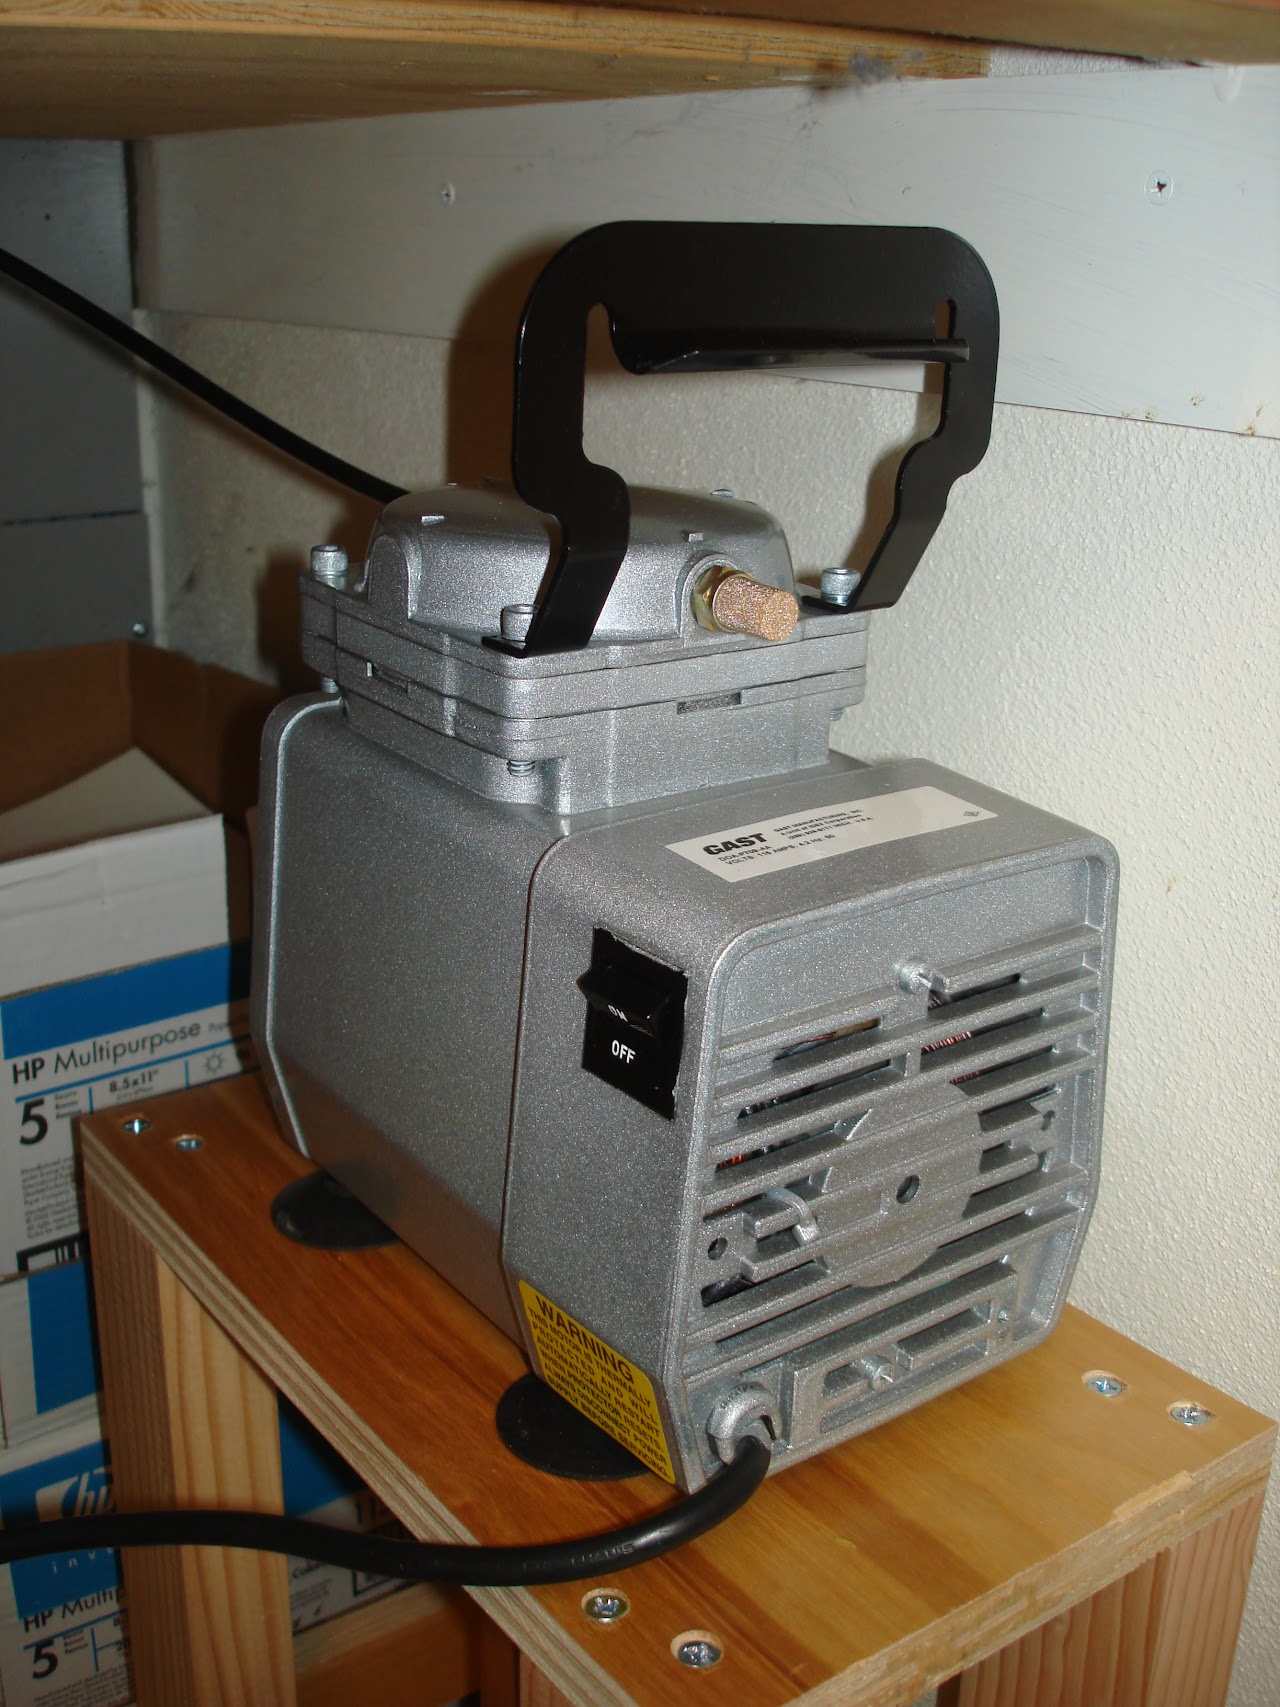
Manufacturer: Gast
Model#: DOA-P709-AA
Stock#: n/a
Serial#: n/a
Acquired: November 2014 (New)
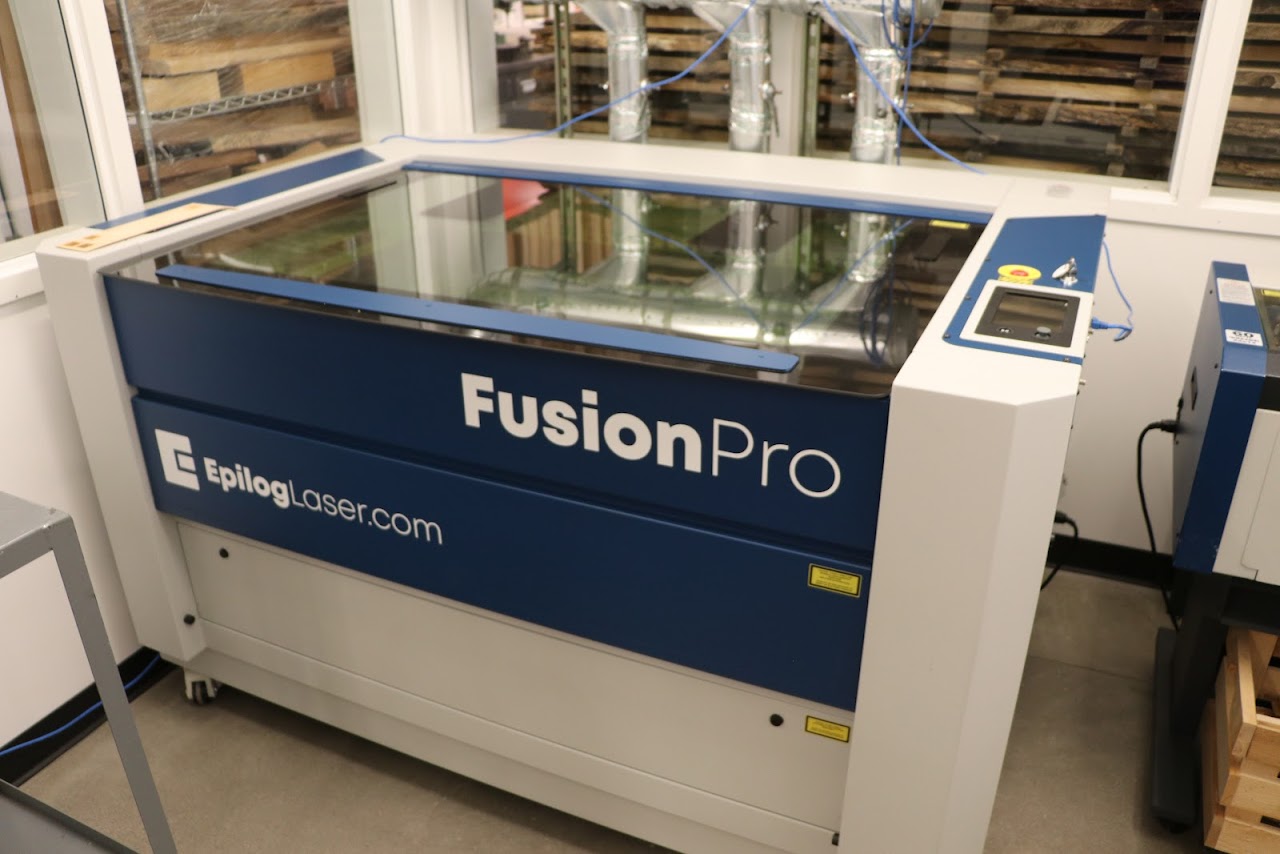
Manufacturer: Epilog Laser
Acquired: Manufactured in
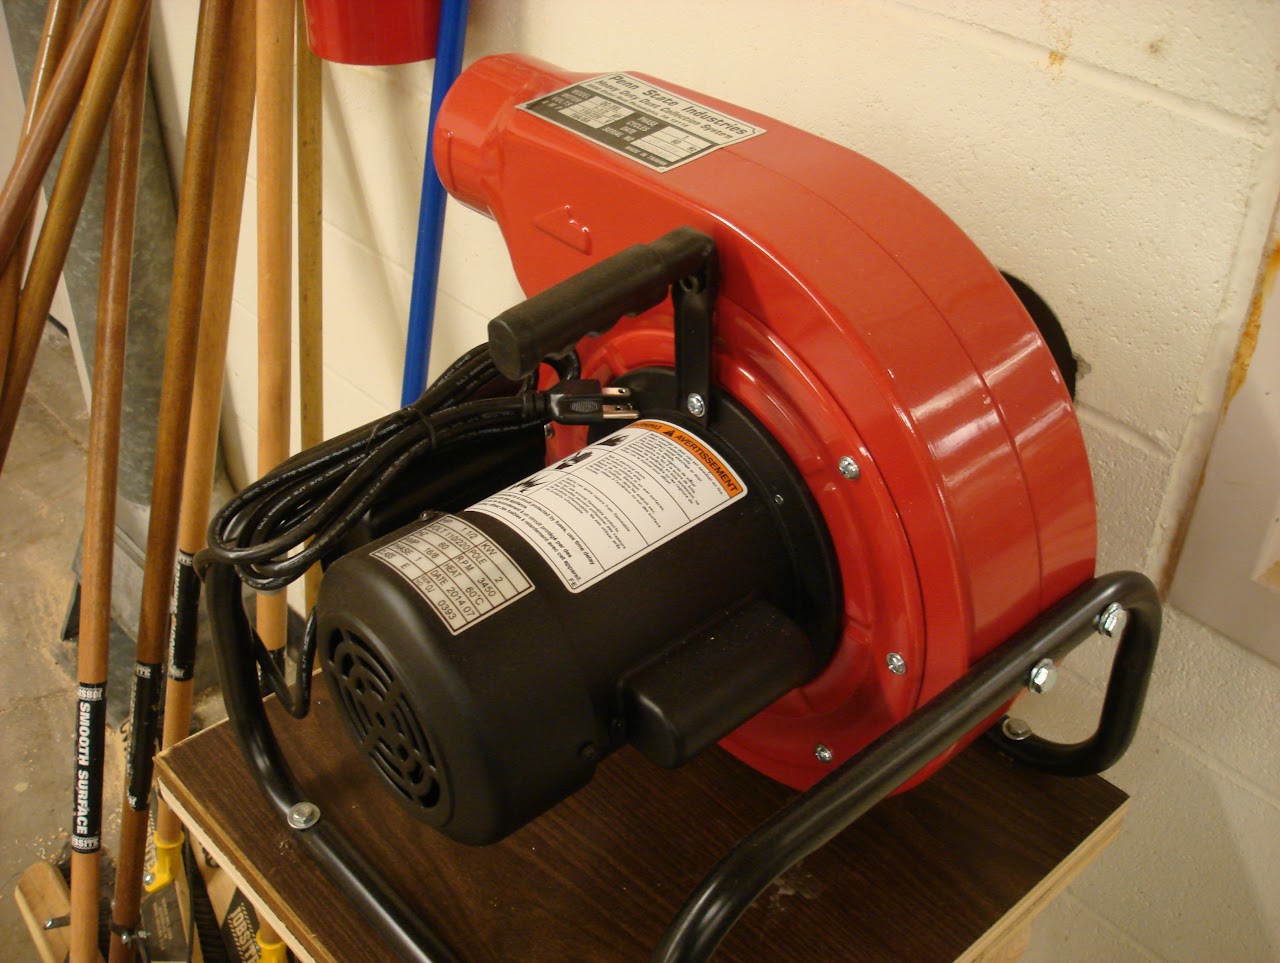
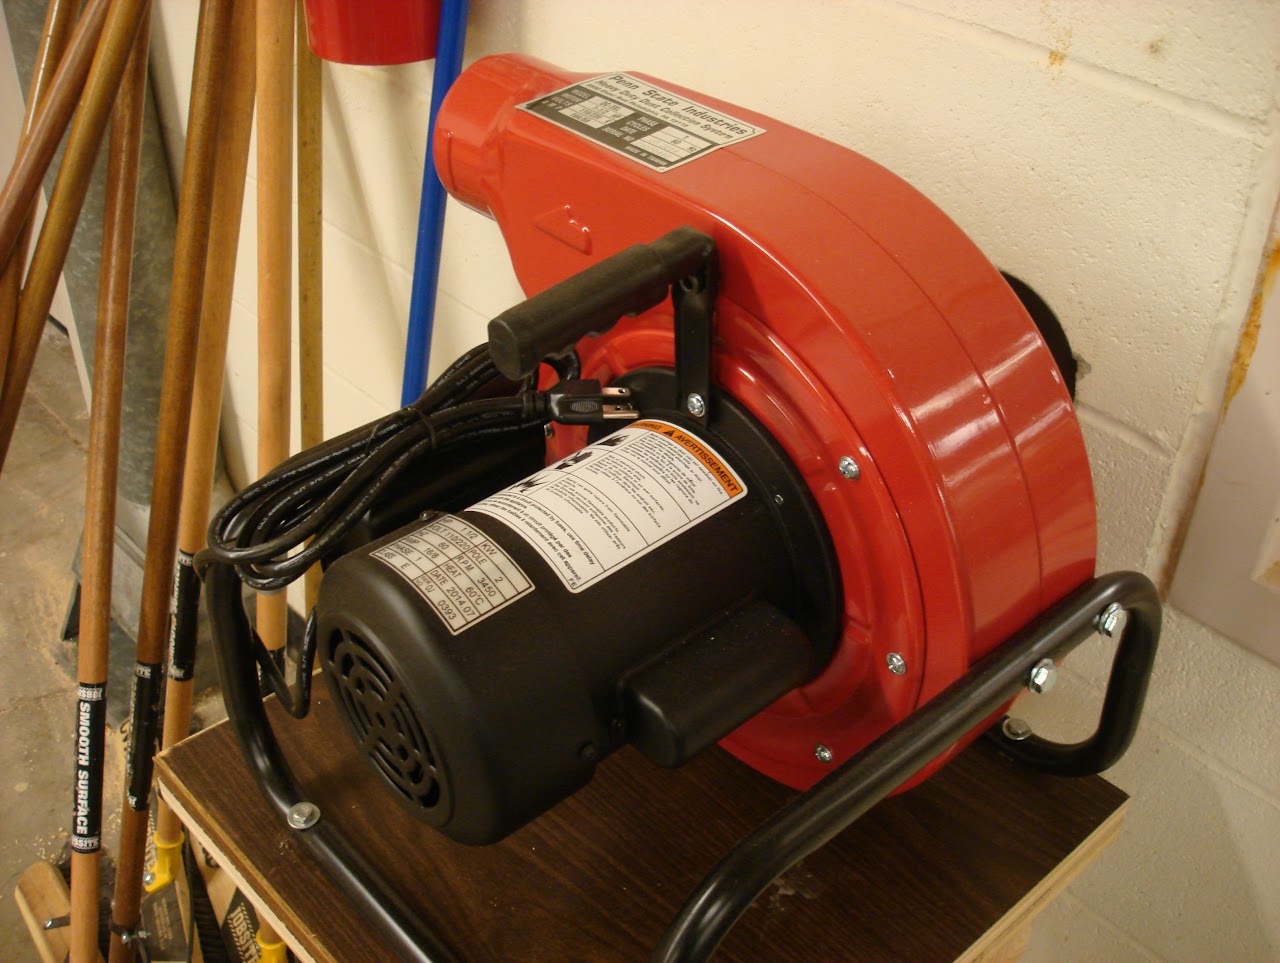
Manufacturer: Pen State Industries
Model#: DC-3XL
Stock#: n/a
Serial#: 14070448
Acquired: Manufactured July 2014, installed in December 2014 (New)
Manufacturer: Pen State Industries
Model#: DC3/
Stock#: n/a
Acquired: Manufactured
For Students / Users
- Checklist for Using the Epilog Mini24 Laser Engraver
- Checklist for Using the EpilogFusion ProLaser Engraver
- Epilog Laser Engraver Training Assignment
- Preparing Files for UV Printing followed by Laser Cutting Using Registration Marks
- Setting Up Artboards and Getting Ready to Use Illustrator
- Using Basic Shapes, Fill, and Strokes
- Using the Pen and Pathfinder Tools
- Importing Images and Graphics Into Illustrator
- Going From an Inkscape .svg file to the Engraver via Adobe Illulstrator
- Preparing Inkscape .svg files for Laser Engraving
- Epilog Mini 24 Owner's Manual
- Exhaust Fan Owner's Manual
- Air Assist Pump Owner's Manual
- Replacing the Auto-Focus Plunger -- Instructions
- Setting the X-Y Home Position -- Instructions
- Checking the Table Level -- Instructions
- Adjusting the Table Level -- Instructions
- Aligning the Laser Beam -- Instructions
- Replacing the laser tube in the Mini -- Instructions
- Procedure for checking laser focus and making adjustments if needed
- Epilog Fusion Pro 32/48 40 Owner's Manual
- Fusion Pro CO2 and Fiber Laser Alignment Procedure
- Fusion Pro CO2 and Fiber LaserFocusProcedure
Videos
Maintenance History
, received in August 2019
Mini 24: Laser Tube Replaced (may not have needed to do this . . . later it was discovered the optics were damaged.
Mini 24: Both Lens 2 and the mirror on the laser carriage were replaced. The coating on the lens can get damaged when it is dirty and heat from lasering heats the dirt that then damages the lens coating. It is essential the lens stay clean.
Mini 24: The mirror on the laser carriage was replaced -- its coating was totally gone and the glass looked burnt, which was impacting cutting power and engraving.
Mini 24: Kyle Doran with NW Laser Systems (in Kent, WA.) assisted in getting the laser to talk to the computer. Presently, the computer is hooked up to the laser via the laser's ethernet port The ethernet cable connected to the laser transitions to USB via a USB/ethernet converter and plugged into a USB port on the computer. The static IP address for this "new" ethernet network the computer sees must be set, and must be different from the port that was assigned to the computer. To the computer, the port IP address is 192.168.3.4. When the new ethernet network was set to an IP address of 192.168.3.3, it started to communicate to the laser and jobs could be sent from the computer to the laser.
Mini 24: Laser stopped firing in the middle of the a job. A "SystemE PleaseR" error message appeared on the menu. To determine whether the problem was the laser tube or control board, Epilog instructed us to unplug the Ethernet cable from the back of the laser tube and turn the machine back on. If the error message goes away (which it did), this means that the laser tube is the problem (not the control board). A new tube was ordered.
Mini 24: The laser tube was replaced, and the autofocus plunger was replaced at this time as well.
Fusion Pro: The carriage camera and its board were replaced, as well as the grey USB cable going from this board to the right side of the machine. The second cable was not replaced. These were replaced because the camera was not calibrating.
Fusion Pro: The power supply (48V) one on the right side of the unit was replaced. The original died after about 20 minutes of engraving. At this point, warranty had expired.
Fusion Pro: Trying to problem solve why acrylic isn't engraving well. Epilog tech support suggested calibrating both lasers. Cannot get the fiber laser to fire and run a job. Both the CO2 and Fiber lasers were aligned today. This did not correct the problem.
Fusion Pro: A fiber laser, a CO2 laser, and then auto focus plunger calibrations were performed in this order. At this point, the machine is engraving on acrylic well.
Fusion Pro: Trouble calibrating the dual laser focus. The instructions in the manual are wrong (based upon what Epilog Tech support indicated on the phone). Proper focusing procedure is listed below. Note: the fiber focus is REALLY sensitive. A couple of .001" can really impact engraving quality. The CO2 laser is less sensitive.
Fusion Pro: Machine would not auto focus -- an "auto focus sensor error" was given. Additionally, the carriage camera would not function -- first noticed when trying to do registered cutting. Before contacting Epilog, the carriage cover was removed and the USB connection was checked. This did not address the problem. Epilog suggested turning the USB connector at the carriage over. This did address the problem, but it isn't clear how permanent a fix this might be.
Fusion Pro
Fusion Pro: Autofocus plunger assembly was replaced. A user bent it by not lowering the bed before attempting auto focusing. A 5/64" allen wrench is needed to remove the cap screw on the magnet of the assembly for installation. The 5/64" in the cabinet with all the tools works -- the one that came with the laser is worn out.